Getting started with Blockly
5. Create a Blockly workspace
In this section you will learn how to add a workspace to your app, including how to define a toolbox.
Parts of Blockly
A Blockly workspace has two main components:
- The area where the user assembles their blocks (the white area).
- A toolbox that contains all blocks that are available to the user (the grey area).
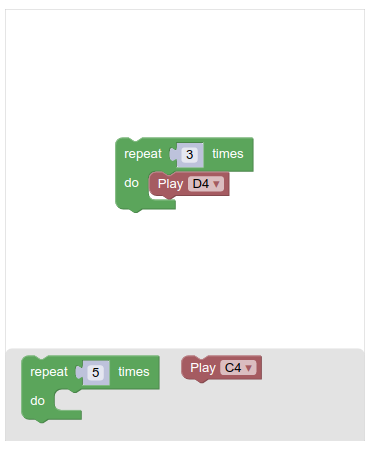
The toolbox may be organized into categories, and may contain both single blocks and groups of blocks. A well-organized toolbox helps the user to explore the available blocks and understand the capabilities of the underlying system.
A toolbox is defined as a JavaScript object and passed into the workspace constructor through an options struct.
For more information on this JSON format and toolbox configuration, including category creation, please see our toolbox documentation.
Define the toolbox
Open up scripts/main.js and scroll down to the end of the file. Then add the code for your toolbox definition just after the call to enableMakerMode():
const toolbox = {
  kind: 'flyoutToolbox',
  contents: [
    {
      kind: 'block',
      type: 'controls_repeat_ext',
      inputs: {
        TIMES: {
          shadow: {
            type: 'math_number',
            fields: {
              NUM: 5,
            },
          },
        },
      },
    },
  ],
};
This JavaScript object defines a toolbox with a single "repeat loop" block.
Injection
Adding a Blockly workspace to a page is called injection, because the workspace is injected into a div that already exists on the page.
To do this you call the function Blockly.inject(container, options), which takes two arguments:
containeris where the Blockly workspace should be placed on the page. It can be anElement, an ID string, or a CSS selector.optionsis a dictionary of configuration options.
For this codelab we will inject into a div with the id "blocklyDiv", which you can find in index.html:
<div id="blocklyDiv" style="height: 480px; width: 400px;"></div>
Create the workspace
Now add code to inject the Blockly editor just after the code you used to define your toolbox:
Blockly.inject('blocklyDiv', {
  toolbox: toolbox,
  scrollbars: false,
  horizontalLayout: true,
  toolboxPosition: 'end',
});
Let's look at the options we used to initialize your blockly editor:
toolbox: A JavaScript object which defines the toolbox for the editor.scrollbars: Whether to show scrollbars in the workspace.horizontalLayout: Whether to display the toolbox horizontally or vertically in the workspace.toolboxPosition: Whether to show the toolbox at the top or bottom of the workspace.
The options struct gives you significant control over your Blockly instance. You can pass options to set Blockly's theme, modify scrolling behaviour, set the renderer, and more. For more information, head over to Blockly's developer site and check out the configuration section.
Check your work
Now refresh the page. Select the EDIT mode, then tap on one of the buttons. You should see a Blockly editor:
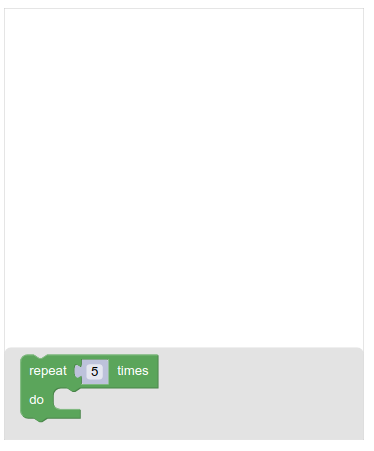
Drag and drop the available loop block to the workspace to test it out.