Use CSS in Blockly
5. Toolbox categories
In this section, you will create CSS rules to assign the colours used by the categories section of the themes codelab to the toolbox's categories.
Identify the category element
Your first rule will set the colour of the Logic category. This rule needs to uniquely identify the element used by the Logic category, so open the developer tools and find the blocklyToolboxCategory <div> for the Logic category:
<body>
  <div class="blocklyDiv">
    <div class="injectionDiv">
      <div class="blocklyToolbox">
        <div class="blocklyToolboxCategoryGroup">
          <div class="blocklyToolboxCategoryContainer">
            <div class="blocklyToolboxCategory" id="blockly-1">
Unfortunately, the only thing that distinguishes this <div> from other category <div>s is a generated id attribute (blockly-1). This isn't stable enough to use in a CSS rule -- for example, if you switched the order of two categories you'd also have to switch the selectors in their rules.
To solve this problem, you'll need to add a class to the
blocklyToolboxCategory <div> for the Logic category. Open the
toolbox.js file and find the definition of the Logic category:
    {
      kind: 'category',
      name: 'Logic',
      categorystyle: 'logic_category',
      contents: [...],
    },
The categorystyle property assigns a style that is used by a theme. Because
you're not using themes to assign category colours, you don't need the
categorystyle property. Delete it and add a cssConfig property that adds two
classes to the Logic category's <div>: logic_category uniquely
identifies the <div> and blocklyToolboxCategory is used by Blockly's CSS to
define rules that apply to all categories.
    {
      kind: 'category',
      name: 'Logic',
      cssConfig: {
        row: 'blocklyToolboxCategory logic_category',
      },
      contents: [...],
    },
For a complete explanation of how cssConfig works, see Custom CSS classes in the toolbox documentation.
Add your rules
Next, add the following rules, which set the row colour and its colour when selected:
/**************/
/* CATEGORIES */
/**************/

.logic_category {
  border-left: 8px solid #8b4513;
}

.logic_category.blocklyToolboxSelected {
  background-color: #8b4513 !important;
}
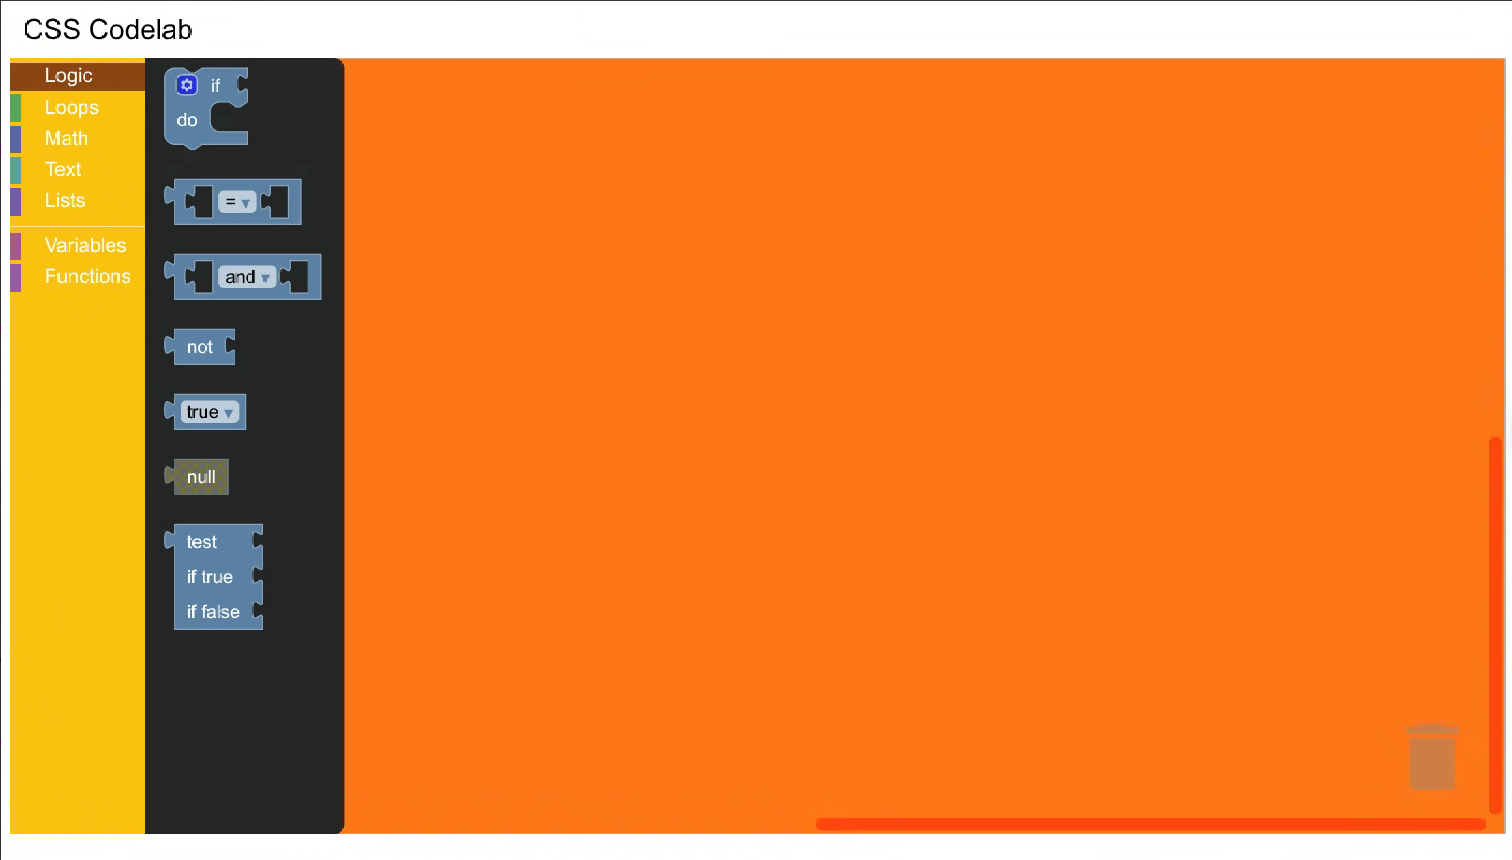
Refresh your web page and click the Logic category. The row is highlighted with your new colour:
Update the other categories
Before you can write rules for the remaining categories, you need to replace categorystyle with cssConfig in each of their definitions:
    {
      kind: 'category',
      name: 'Loops',
      cssConfig: {
        row: 'blocklyToolboxCategory loop_category',
      },
      contents: [...],
    },

    // Repeat for remaining categories
Next, add the following rules to halloween.css. These rules use the colours from themes codelab for the Loops, Text, and Lists categories and the colours from the Classic theme (the default theme) for the Math, Variables, and Functions categories.
.loop_category {
  border-left: 8px solid #85e21f;
}

.loop_category.blocklyToolboxSelected {
  background-color: #85e21f !important;
}

.math_category {
  border-left: 8px solid #5b67a5;
}

.math_category.blocklyToolboxSelected {
  background-color: #5b67a5 !important;
}

.text_category {
  border-left: 8px solid #fe9b13;
}

.text_category.blocklyToolboxSelected {
  background-color: #fe9b13 !important;
}

.list_category {
  border-left: 8px solid #4a148c;
}

.list_category.blocklyToolboxSelected {
  background-color: #4a148c !important;
}

.variable_category {
  border-left: 8px solid #a55b80;
}

.variable_category.blocklyToolboxSelected {
  background-color: #a55b80 !important;
}

.procedure_category {
  border-left: 8px solid #b88cc0;
}

.procedure_category.blocklyToolboxSelected {
  background-color: #b88cc0 !important;
}
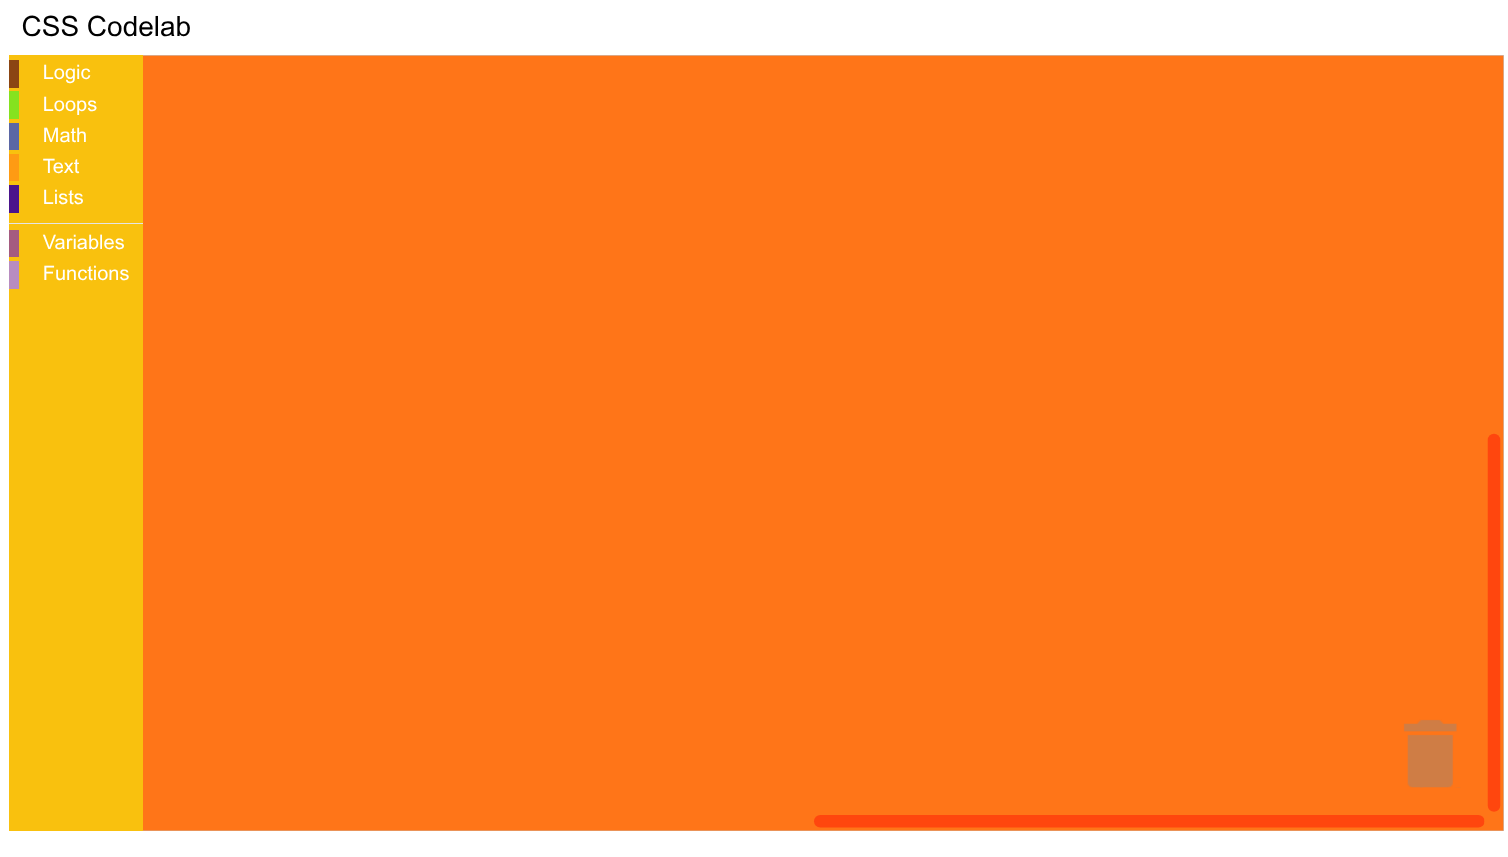
Refresh your web page. You should see the new colours beside each category: