Build custom renderers
4. Define and register a custom renderer
A Renderer is the interface between custom rendering code and the rest of Blockly. Blockly provides a base renderer with all required fields already set to usable values.
To start, create a new directory at src/renderers and add a file inside named custom.js.
At the top of the file, import blockly/core:
import * as Blockly from 'blockly/core';
Then define a new custom renderer and have it extend the base renderer:
class CustomRenderer extends Blockly.blockRendering.Renderer {
  constructor() {
    super();
  }
}
After defining the renderer, register it with Blockly and give it the name custom_renderer:
Blockly.blockRendering.register('custom_renderer', CustomRenderer);
To use the custom renderer, import the new file at the top of src/index.js:
import './renderers/javascript';
Now, add the the renderer property into the configuration struct passed to Blockly.inject so that it now looks like this:
const ws = Blockly.inject(blocklyDiv, {
  renderer: 'custom_renderer',
  toolbox,
});
The result
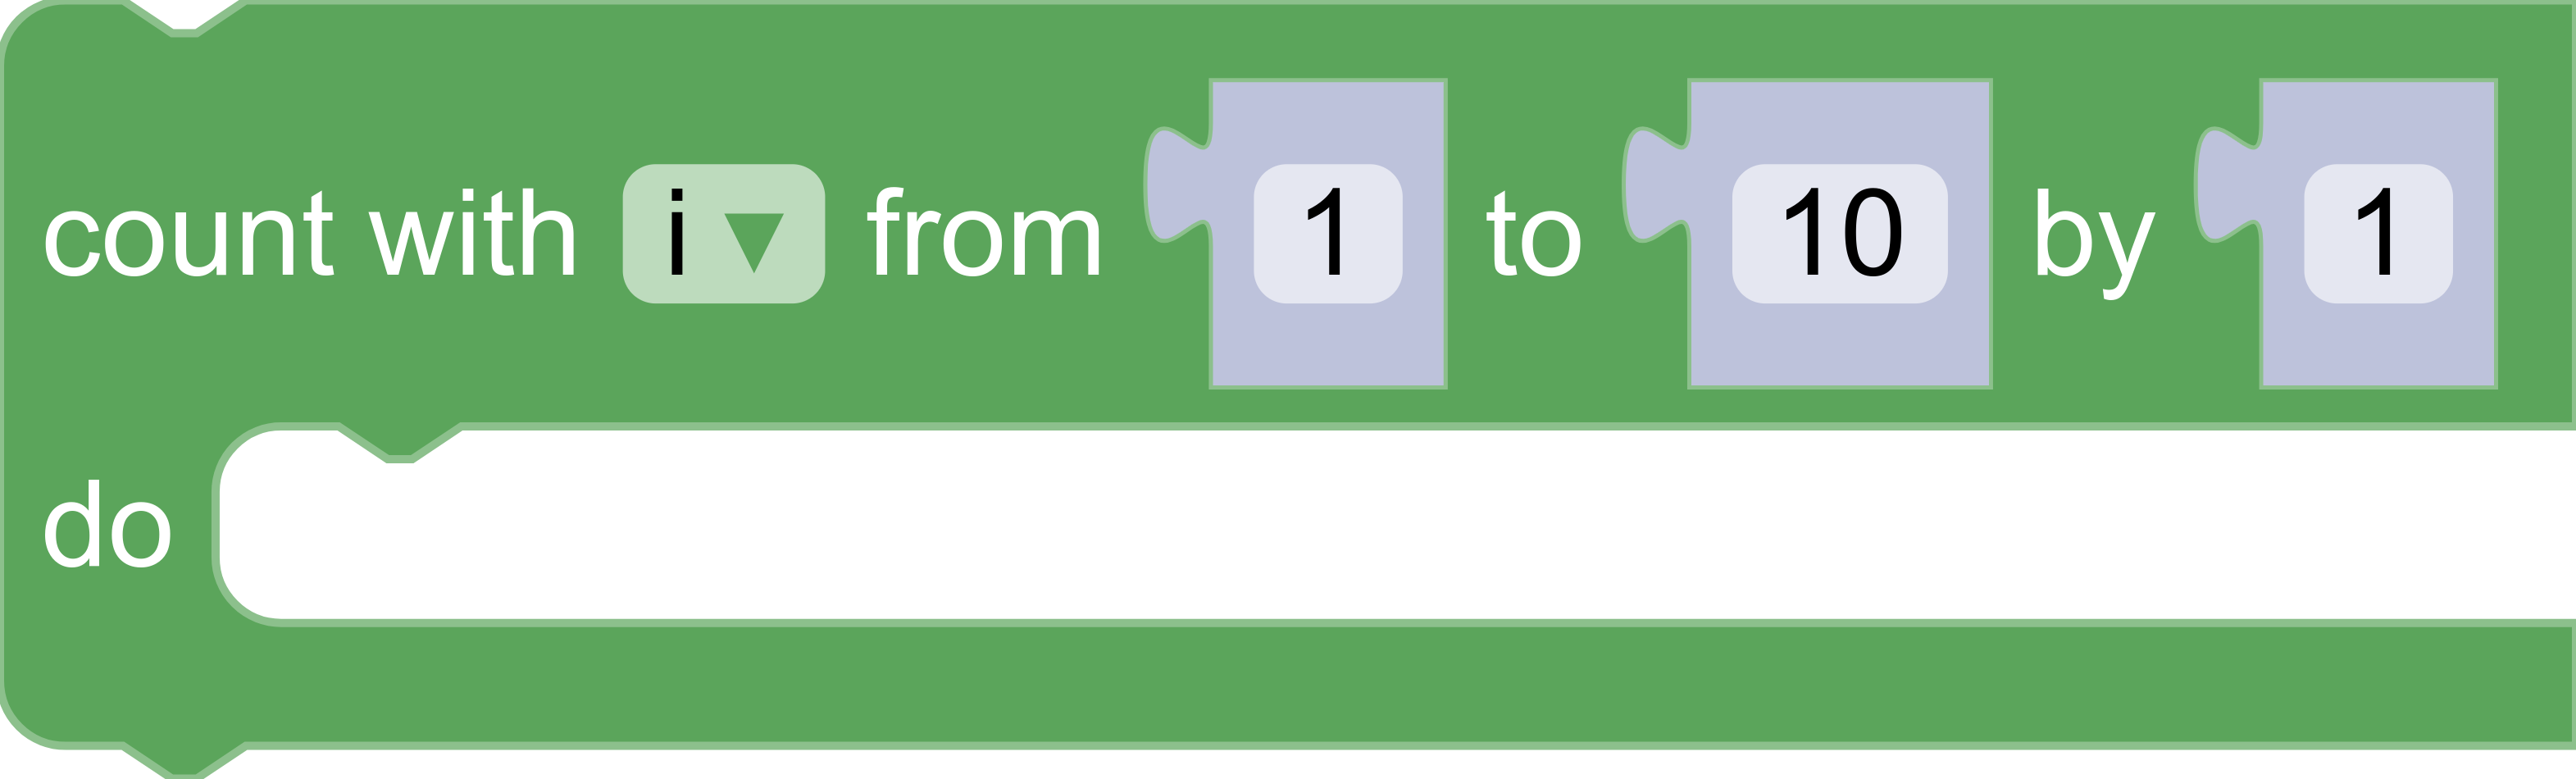
If the server is already running, refresh the page to see the new changes. Otherwise, run npm start to start the server. Once the server is running, click on the Loops entry in the browser and drag out a repeat block. The resulting block will use the same values already defined in the base Blockly.blockRendering.Renderer.